1. Prepare Instagram Account & Link Facebook
1.1. Before starting to configure and use this app, it’s necessary to have an Instagram Business account connected to a Facebook Page. If you already have one, you can skip this section and continue with the next one. Otherwise, follow these steps:
- Go to Facebook and Create a Page for your Business.
- Create a new Instagram account for your business or use your personal account.
- Connect the Instagram Account to the Facebook Page.
1.2. In order to connect the Instagram Account to the Facebook Page, go to your Facebook Page’s Settings and click Instagram, then log into your Instagram account:
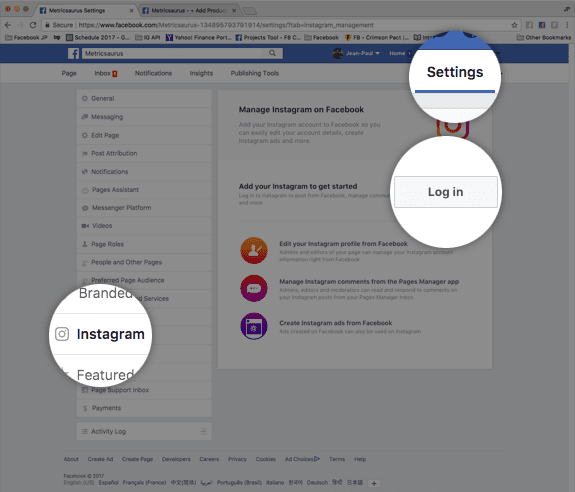
1.3. If the account is not an Instagram Business Account, you will be prompted to set up your Business Profile.
Continue through the steps to convert the account to an Instagram Business Account. When you are done, you will have successfully connected the Facebook Page to the Instagram Business Account and you can start using the Instagram Shopping App.

1.4. The next step is to set up a Facebook Business Manager. If you already have one, you can skip this step. If it isn’t the case, please, follow these instructions.
1.5. In your Business Manager, you can connect multiple Facebook Pages, Instagram accounts, etc.
1.6. Let’s go to connect your Instagram business account by following these steps.
1.7. Once you have a Business Manager properly configured, you can proceed to upload your store’s products. In order to accomplish this, go to your online store to define the catalogs and the products for each of them.
2. Activate Instagram Shopping
2.1. To activate your Instagram Shopping app, on your dashboard menu, go to Apps > Social Media > Activate Instagram Shopping.
3. Connect Instagram to SmartSeller
3.1. Once the app is activated and you have an Instagram Business account connected to a Facebook Page, go to “Online Store> Settings > Integrations > Instagram†to proceed to connect your store with Instagram.
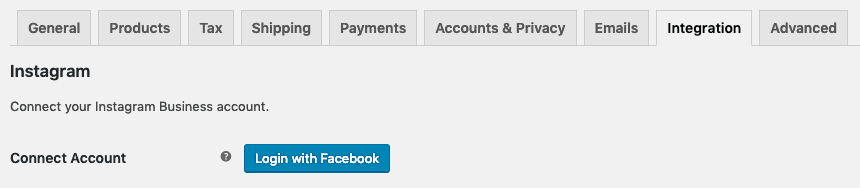
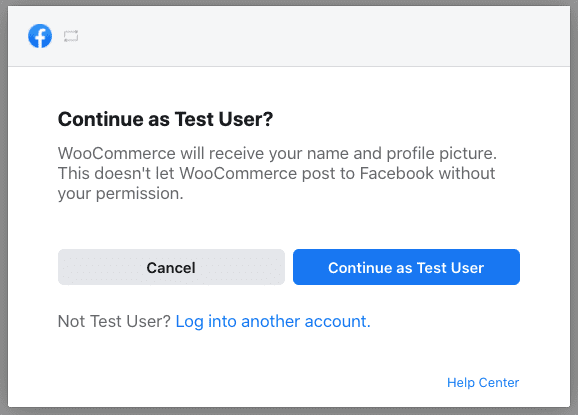
3.2. Click on the “Login with Facebook†button and log in with the Facebook account in which you created the Facebook Page for your business. You will be redirected to Facebook to complete the connection.
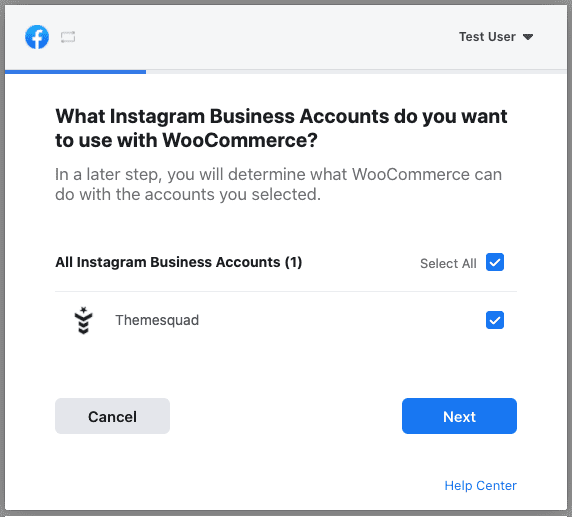
3.3. You will see a list of Instagram Business Accounts. Check the account that will be used in your store and press “Nextâ€.
3.4. In the next step, you will see a list of pages available to use. Check the page that you want to use with your store.

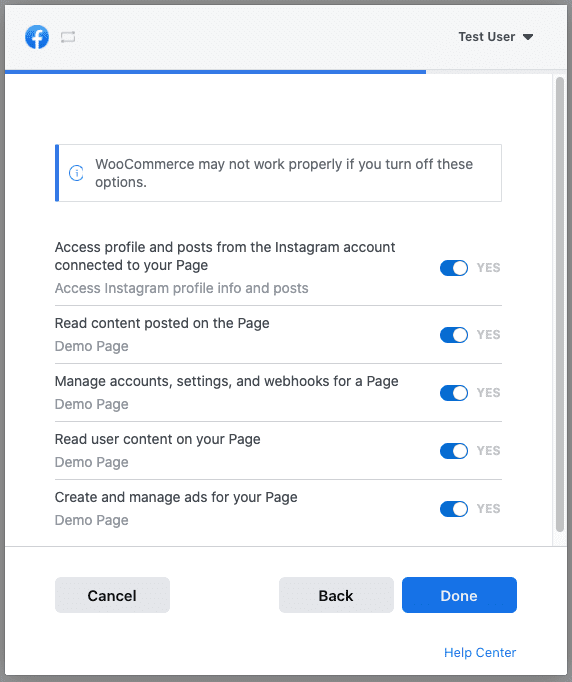
3.5. Before the connection is done, you will be asked to select what Instagram Shopping App is allowed to do. Removing permissions may cause the application to stop working.
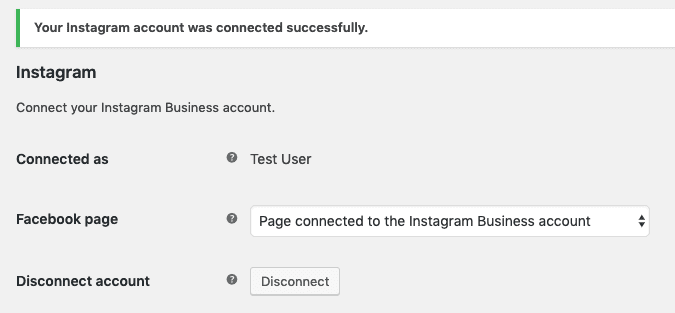
3.6. After accepting the permissions, you will be redirected to your store automatically. The last step is to select the Facebook Page connected to the Instagram Business account from the list displayed by the “Facebook page†setting and save the settings.
4. Create a Product Catalog for Instagram
4.1. In your store, go to “Online Store> Settings > Integrations > Instagram“. Here you will find a section called “Shopping†which contains a setting for defining the product catalogs.
4.2. Click on the “Add catalog†button to add a new one. You will be redirected to a form where you will find all the necessary to create and customize your product catalog. The most important setting is one called “Feed URL“. This setting represents the URL that Facebook will use to fetch your product data.
4.3. The other settings are divided into two categories:
4.3.1. Product filters
These settings allow you to filter the products which will be included in the catalog. You can filter the products by:
- Category
- Type
- Stock status
If you are including “Simple†products in the catalog, you can also filter if they are “Virtual“, “Downloadable†or both.
Note: If you set the filters “Virtual products†and/or “Downloadable products†to true, all non-simple products will be excluded from the catalog (Variable, grouped, etc.).
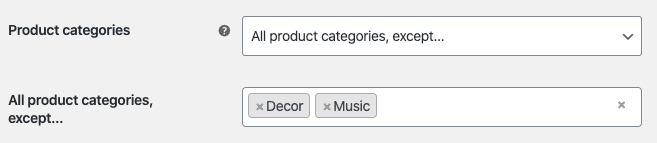
Finally, you can manually include or exclude products from the catalog. Just use the settings “Products†and “Exclude products“. Look for the products and add them to the list.
These settings are especially useful when you want to include all products of a category/type except one or two products.

Or in the opposite case, to exclude all products of a category/type except one or two specific products.

Note: Only published products will be included in the catalog.
4.3.2. Product data
These settings are for customizing the product data. Here you will find some interesting settings like:
Include variations – In case you are including “Variable†products in the catalog, you can opt to include the parent product or all its variations.
Note: Only enabled variations will be included in the catalog.
Currency code – Optionally remove the currency code from prices. This will allow you to create a catalog with generic prices. The catalog can be uploaded to multiple Facebook Catalogs and define the currency in the Facebook Business Manager platform. For example $9.99, 9.99€, etc.
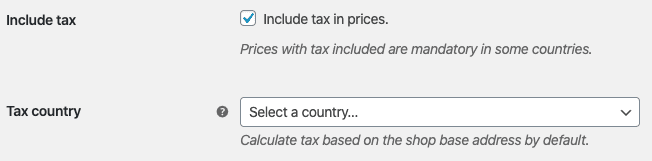
Include tax – You can opt to include the tax in prices. This is mandatory in some countries. By default, the tax will be calculated based on the shop base location. If you are calculating the tax based on the customer billing/shipping address, an additional field will appear to select the country used to calculate the taxes.
Product ID – Customize the product identifier in the Facebook Catalog. By default, the product ID will be used. To avoid the collision with other importers, you can customize this identifier.

Note: The placeholder {product_id} will be replaced by the real product ID when outputting the product data.
Group ID – When including variations in a catalog, all variations of a product are grouped by a Group ID parameter with the same value. By default, the parent product ID is used as the group ID, but you can customize this identifier in the same way as the product ID.
Product MPN – The Manufacturer Part Number (MPN) is a unique number that identifies the products. By default, we use the product ID as an identifier, but you can also use the product SKU or a combination of these parameters in a custom format.
Brand – This field is optional and it allows you to define the global value of the brand of the products. This option can be set per product.
Condition – It defines the condition for the products. The default value is new and it can be set per product.
Images – Choose the product images that will be included in the catalog. It can be all the images or just the featured image. By default, all images will be included. This value can also be set per product.
Google Product Category – Categorizes all your products with a default category. This option can be set per product.
5. Upload a Product Catalog
5.1. Once you have defined a product catalog, you can proceed to upload it to a Facebook Catalog. To do this, just copy the “Feed URL†of the catalog. Then, go to your Business Manager and create a new catalog.
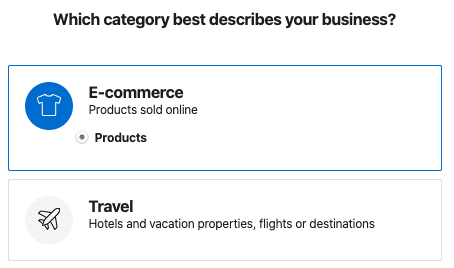
When you are creating a catalog, select the best category that describes your products, or just select the category “E-commerceâ€.
5.2. The next step is to select how the products will be added to the catalog. Select the option “Upload Product Info†and add a name to the catalog.

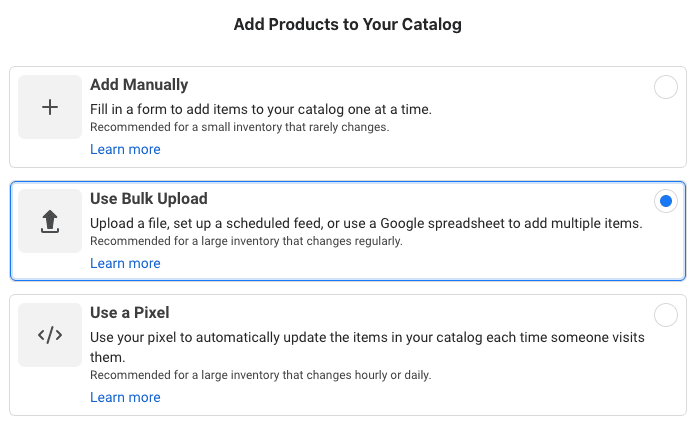
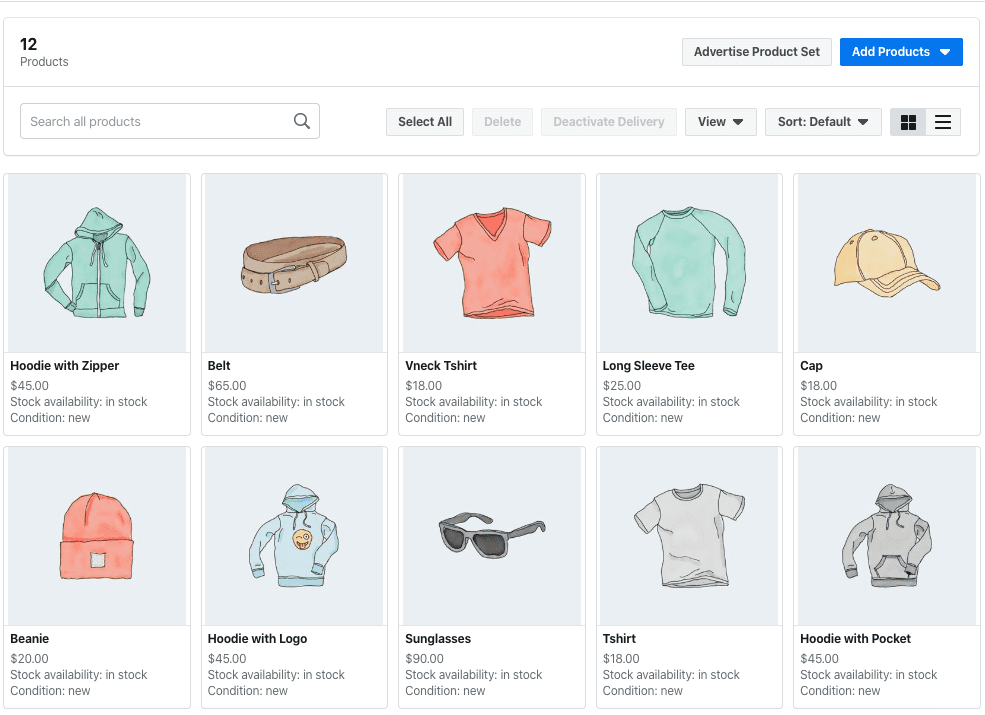
5.3. After saving the form, you will have a Facebook Catalog. Now, let’s add your store’s products to it. Click on the “Data Source†link that you will on the left menu. Then, click on the “Add Products†button and select the option “Use Bulk Upload“.
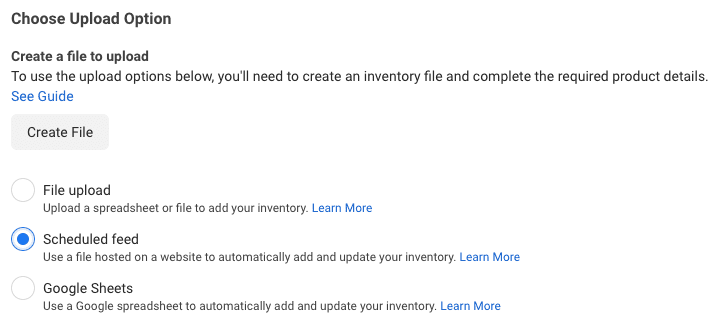
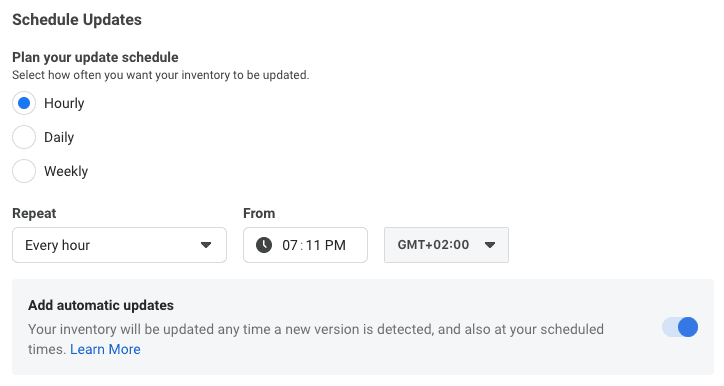
5.4. In the section “Choose Upload Option“, select the option “Scheduled feed“:
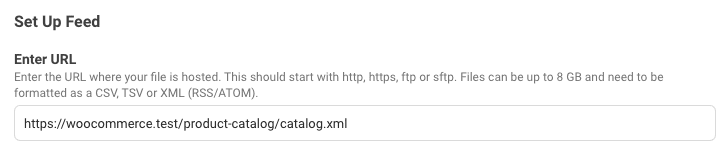
5.5. Next, paste the Feed URL of the product catalog copied from your online store here:
5.6. Optionally, you can edit the schedule settings. We recommend you to synchronize the catalog hourly.
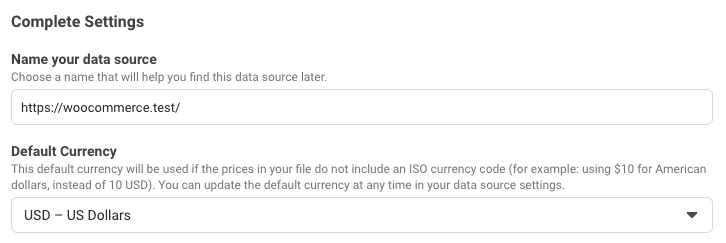
5.7. In the next step, add a name for the data source and select the default currency for the product prices.
5.8. Finally, click on the button “Start Upload“. Once the process finishes, your product catalog would have been uploaded to Facebook. Congratulations!
6. Enable Instagram Shopping
If your account is not eligible for Shopping, click on the “info†icon to see the possible cause. Here you have the complete list of requirements.
If your Instagram account isn’t a business account yet, follow these steps on your Instagram app.
Additionally, be sure your Instagram business account is connected to a Facebook page.
Note: Your Business Manager has to own (not simply have access to) the Facebook Page linked to your Instagram business account.
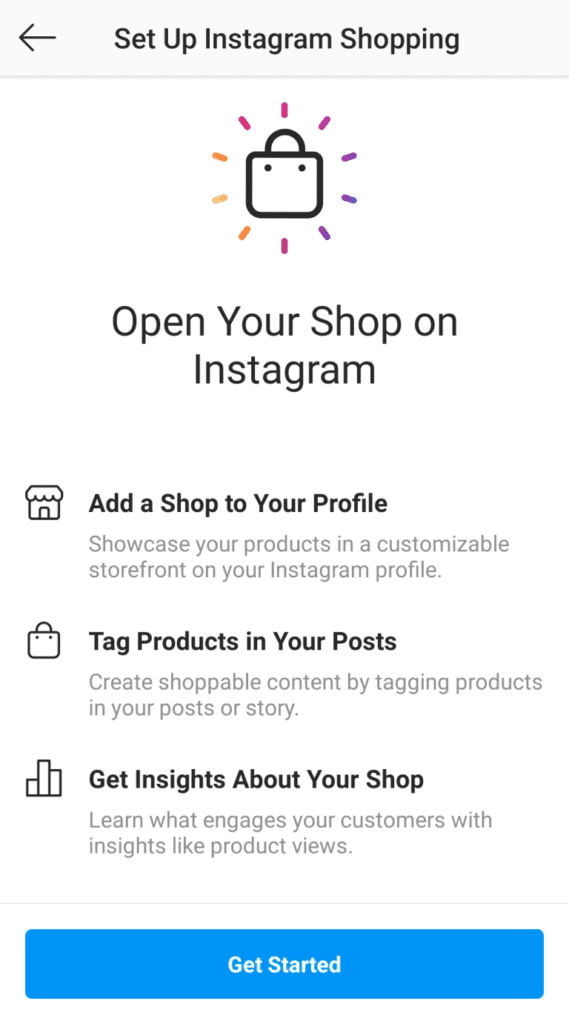
6.1. In your Instagram mobile app, log in with the same Instagram business account connected to your Facebook Page.
6.2. Go to your profile settings, tap on Business > Shopping > Set Up Instagram Shopping, and follow the steps to submit your catalog for review.
6.2. During the process, you will be asked for connecting a Facebook account. Be sure you enter the same account you connected to the store and have access to the Business Manager.
Note: This Facebook account also needs access to the Facebook Page connected with your Instagram business account. If you followed above step 3 of this tutorial, you should already have set it up properly.
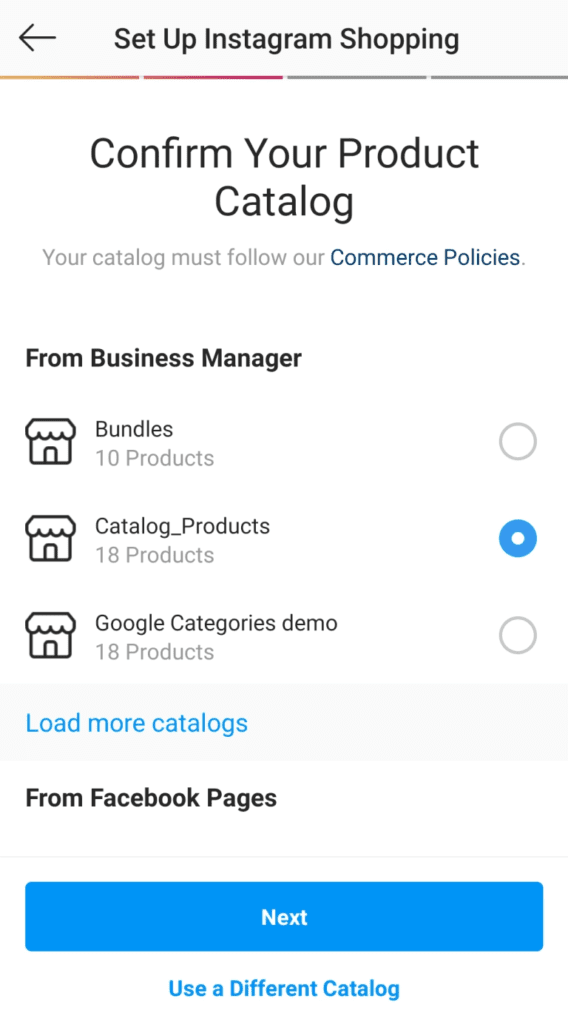
Next, select the Facebook Page and Catalog.

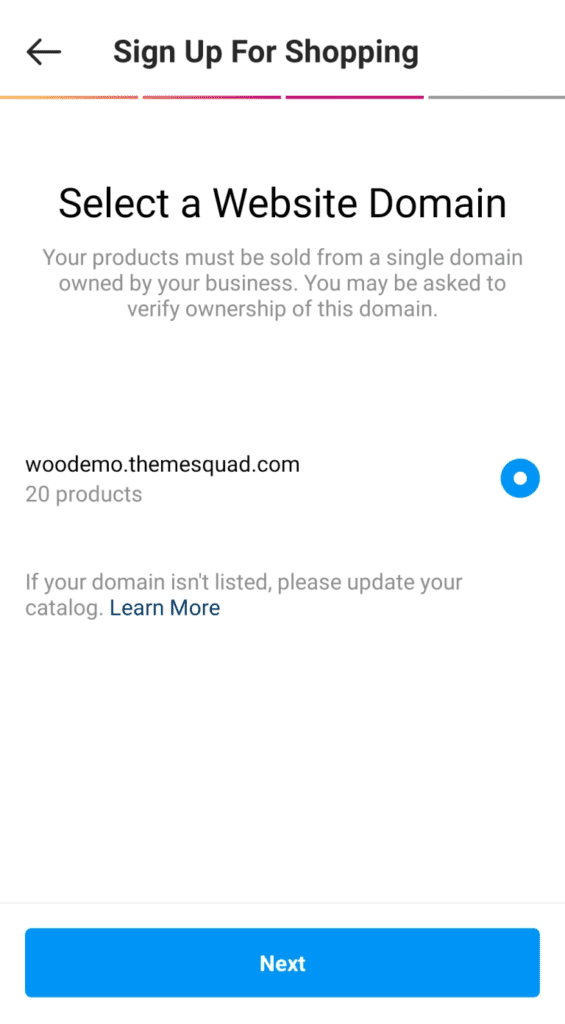
In the next step, you will have to select a Website Domain for the catalog. This is to validate you are the owner of the store you are loading the catalog. If you haven’t verified the domain of your store yet. In your Business Manager, go to “Business Settings > Brand Safety > Domains†and follow the steps.
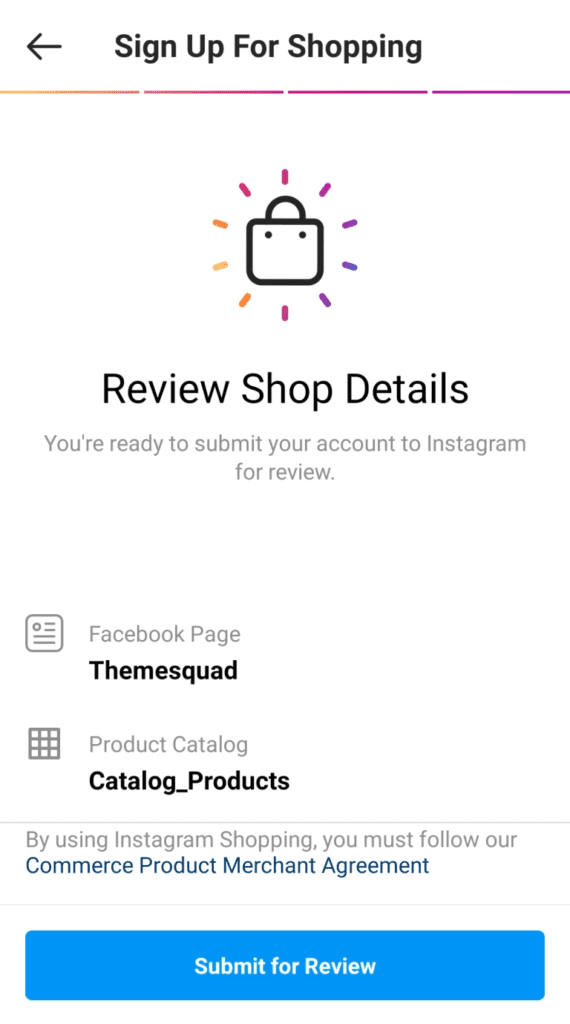
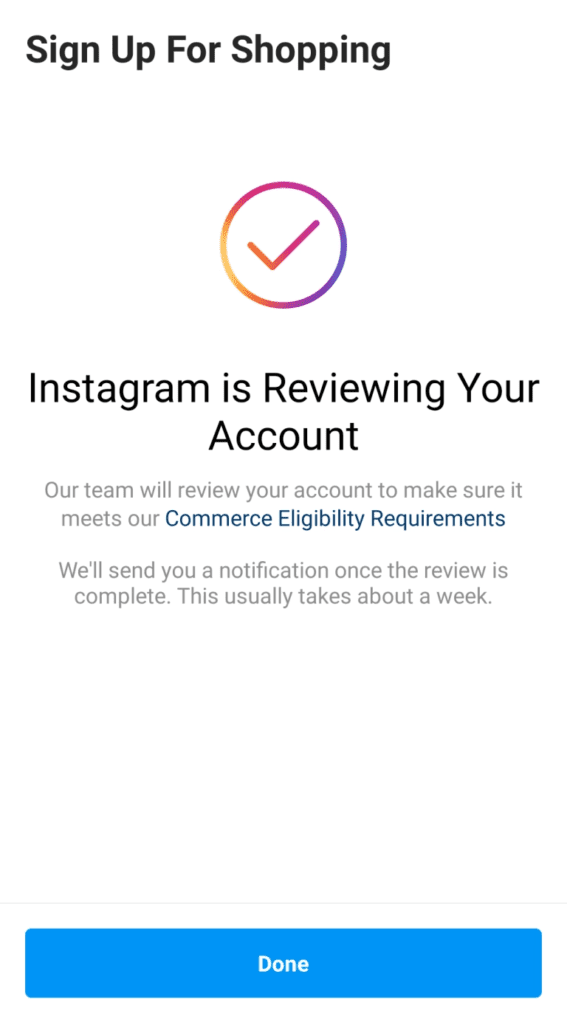
Finally, review the shop details and submit the catalog for review. Usually, the process takes a few days, but sometimes it can take longer. Once you’ve been approved, you’ll receive a notification from the Instagram team.
Now that your Instagram account has been approved for shopping, let’s turn on this feature. Go to “Settings > Business > Shopping“, select the “Product Catalog†you want to connect to your account and tap on “Done“.
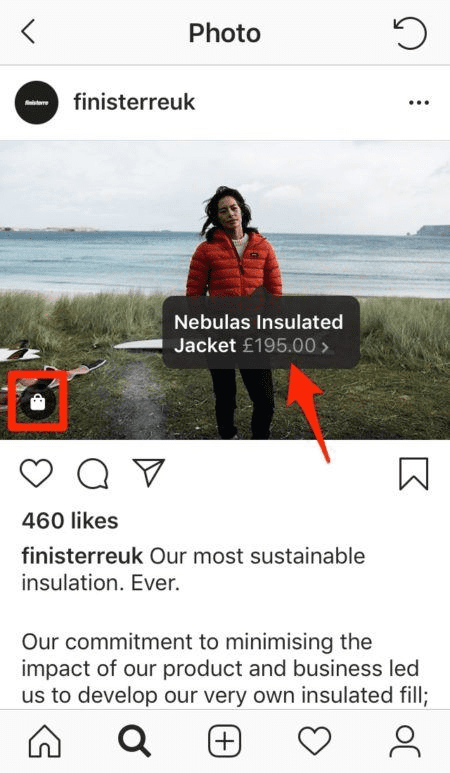
The final step, Start tagging! You can tag your products in your Instagram posts and stories. Create a post as usual and tap on “Tag Products†to add a product from your catalog. Great, you’ve created your first shoppable post!

7. Instagram Product Options
When you create a catalog, you can define the default values for the product brand, condition, images to include in the catalog, and the Product category. This is the fastest way to get your catalog ready, but it might happen that a specific product has different values from the globals. In this case, you have to define custom values only for that product.
To accomplish this, go to the product edit-screen and select the tab Instagram in the Product Data metabox. Here you will find the same options as in the product catalog form.
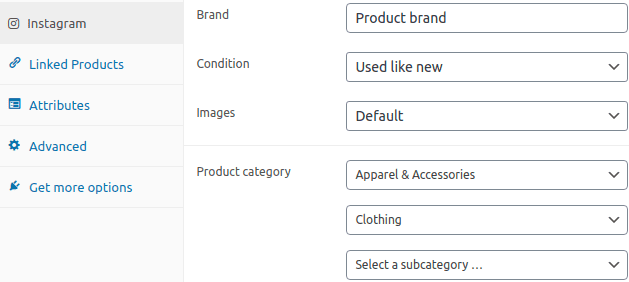
Select the option “Default†to keep using the global value defined in the catalog. Leave Product category empty to use the value default set in the catalog.
8. Renewing access
After connecting your Instagram account to your store, It will be necessary to renew the access credentials periodically to continue using the Instagram API. But don’t worry, we have automated the process to renew your access credentials and it doesn’t require the intervention of the store owner.
In rare cases, Facebook could invalidate your current credentials (for security reasons, recent changes in its API, strange activity in your account, etc) and it will require to re-connect your Instagram account with your store manually.
Additionally, your access credentials could expire due to large periods of inactivity or a problem with the renewal process. All these cases will be detected by our extension and it will display a notification to the store owner requesting him to re-connect the account manually.
