1. Activate Stripe
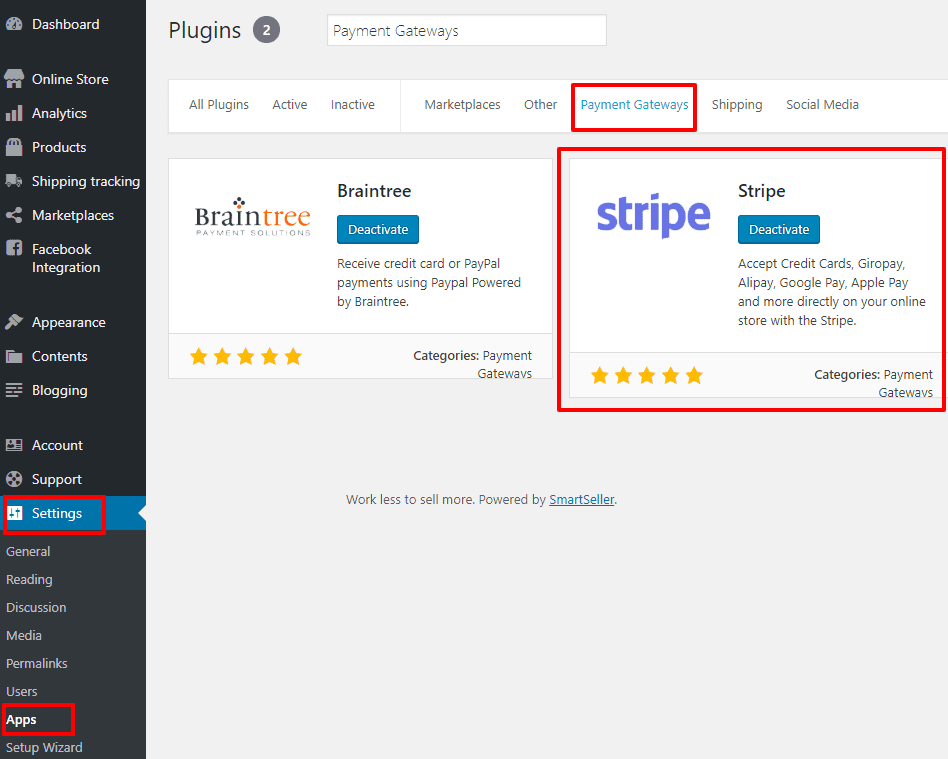
1.1. To activate your Stripe app, go to Settings > Apps > Payment Gateways > Activate Stripe.
1.2. Once the Stripe App is activated, on dashboard go to Online Store > Settings > Payments > Enable Stripe (Credit Card).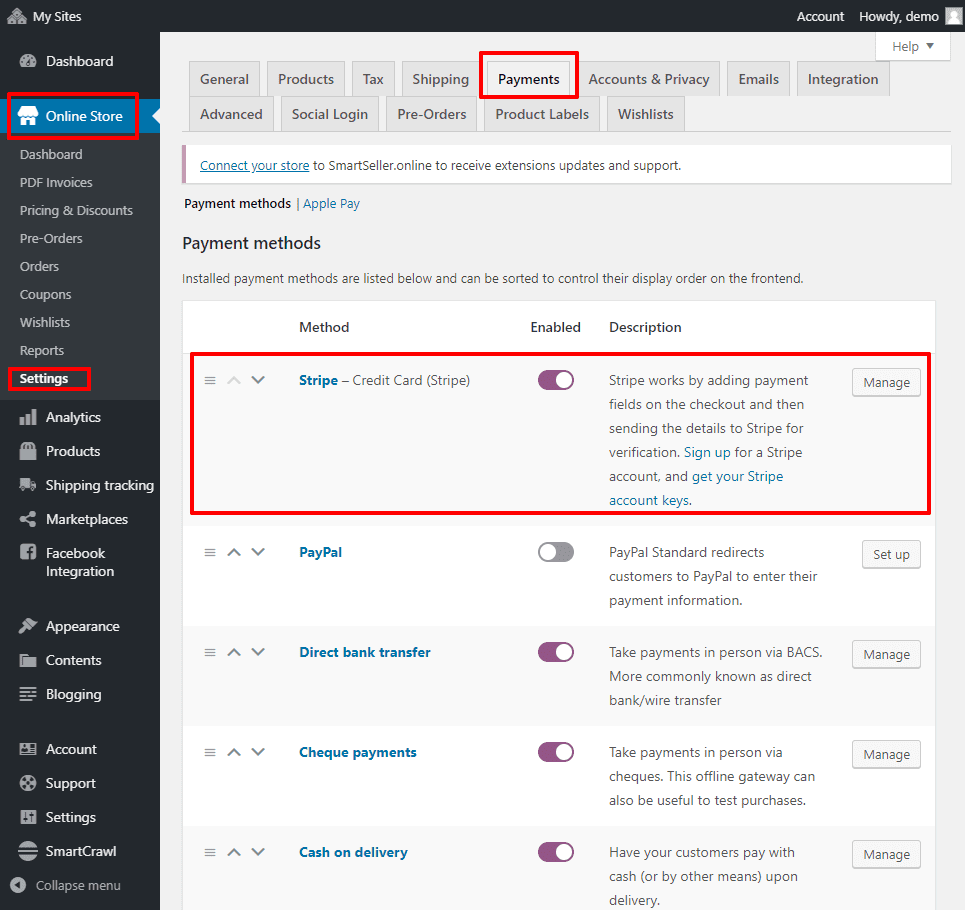
2. Stripe (credit card) settings
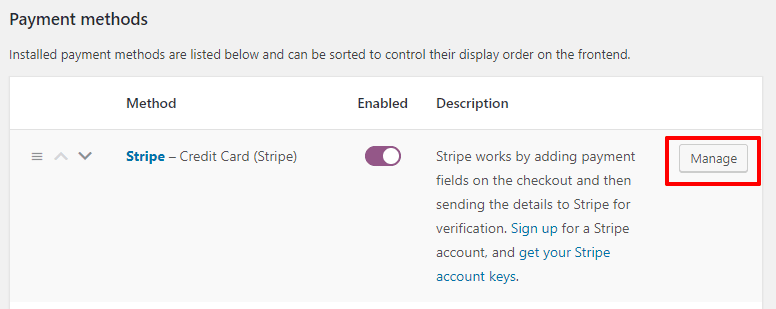
2.1. To connect to Stripe, go to Online Store > Settings > Payments > Stripe (credit card) > Manage.
2.2. Enable stripe, enter title & description:
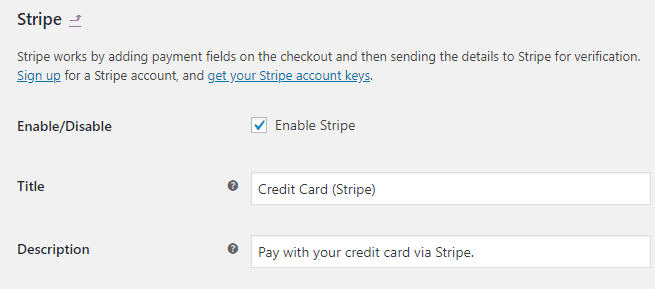
- Tick the Enable Stripe checkbox to enable Stripe payment gateway.
- Enter a Title (required) – Title will be shown at the payment method option on the Checkout Page and also within the Order showing how the customer paid.
- Enter a Desription (optional) – Description is displayed within the payment method option on the Checkout Page.
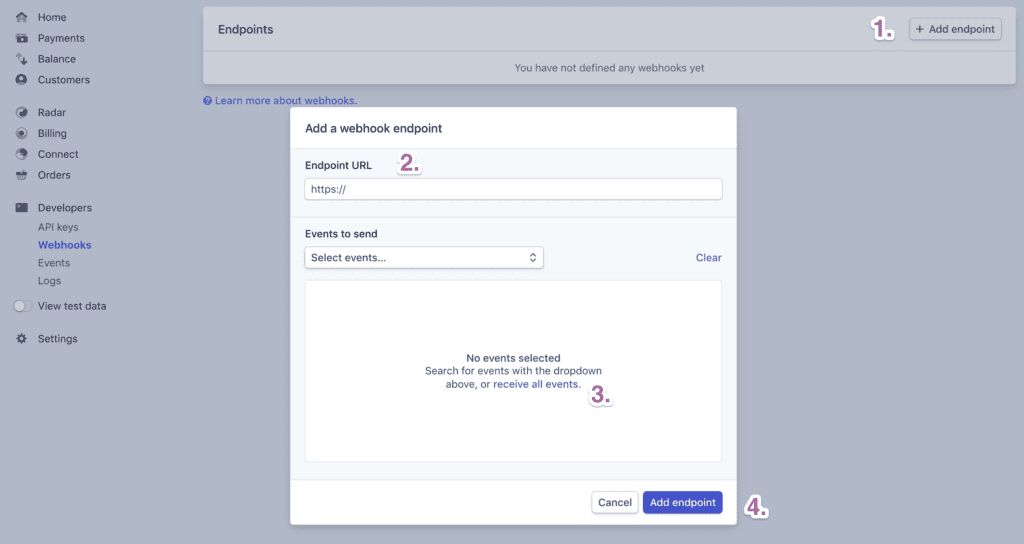
2.3. Webhooks
Copy the webhook link like below.

Go to your Stripe Dashboard Webhook Setting and click on “Add Endpointâ€. Paste the webhook link into the URL field, and click “receive all events†for the events. Choose “Latest API version†from the Version section if that is shown. After this, click “Add endpointâ€
2.4. Test mode / Live mode:
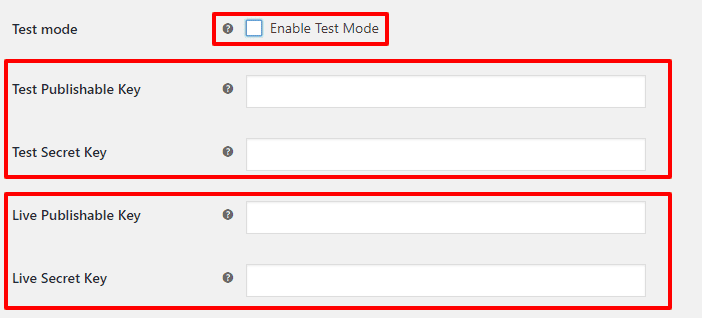
- If you wish to test before going to live, Tick the Enable Test Mode. Then enter your Test Publishable Key and Test Secret Key. (Login to your Stripe account to get the test API Keys).
- Untick the Test Mode. Then enter your Live Secret Key and Live Publishable Key.
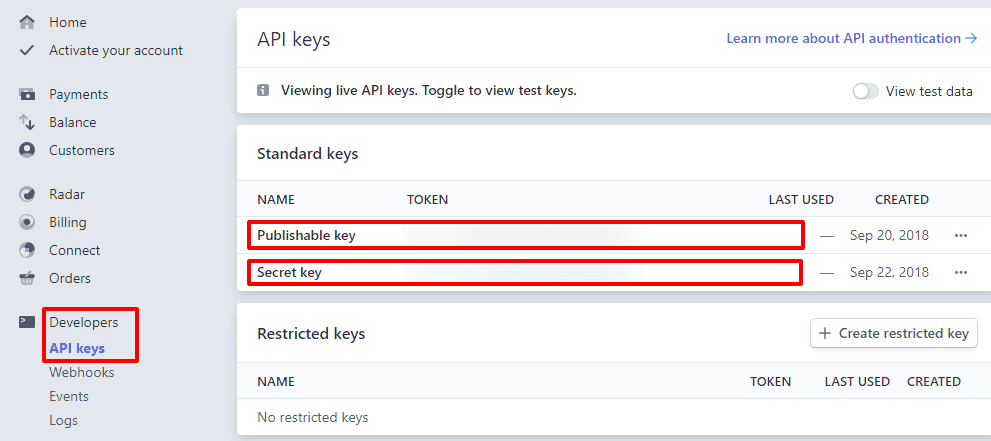
This can be obtained by log in to your stripe account. Then on the left menu, go to Developers > API Keys.
2.5. Statement Descriptor – a description that appears on a customer’s bank or credit card statement. This cannot be black and may be up to 22 characters. Statement description must contain at least one letter, may not include these characters > < " '. Only alpha-numeric characters can be used.

2.6. Capture Charge Immediately – Authorize and Capture charge at the same time. If you untick this, you’ll need to capture funds manually for each order within 7 days otherwise the authorization will be canceled alongside the order.

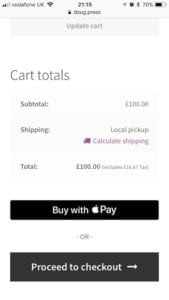
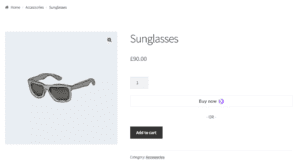
2.7. Payment Request Buttons – if you wish to give customers the ability to pay via a supported method.
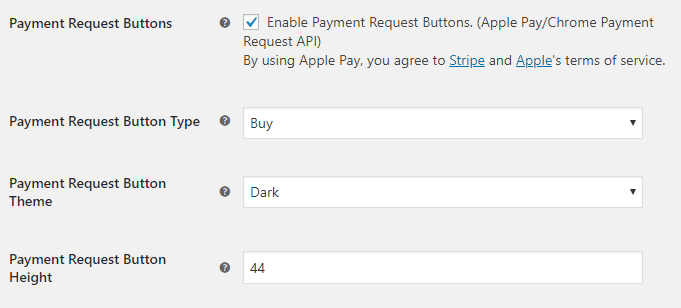
- Payment Request Button Type – change the type of button (Pay, Buy Now, or Donate).
- Payment Request Button Theme – change the appearance of the button.
- Payment Request Button Height – change the height of the button to match your styling preferences.
2.8. Saved Cards – if you want to give Stripe customers the ability to use a card saved on their account for future purchases.

2.9. Log Debug Messages – this function only for SmartSeller to fix app issue.
3. Payment Request Buttons
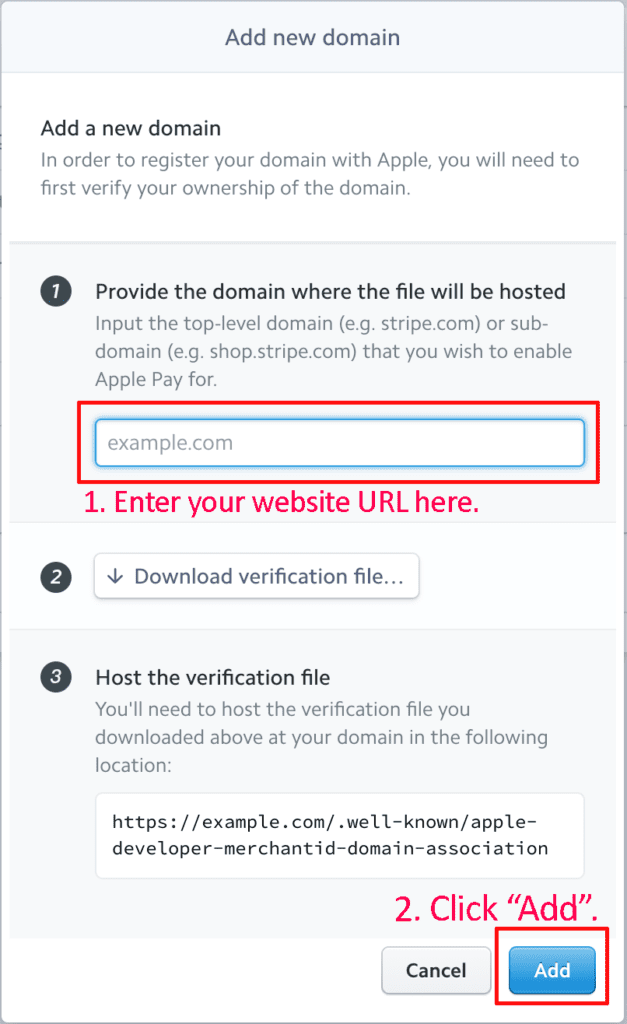
3.1 Apple Pay – To offer Apple pay on your site via Stripe payment gateway, add your site URL to the Stripe.com Dashboard > Settings > Apple Pay. Add the domain of your site exactly as it loads, include the www, or leave it out, but remove https://. (For example: demo.smartseller.online or  www.demostore.com.)
3.2. Google Pay / Microsoft Pay / Samsung Pay – Make sure that the Payment Request Buttons option is enabled, there is no other setup required to accept payments via this methods.
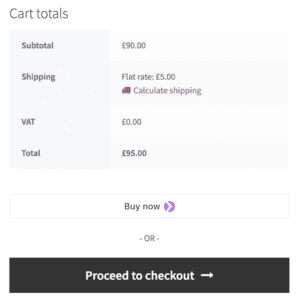
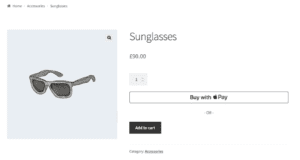
3.3. Payment Request Buttons Sample


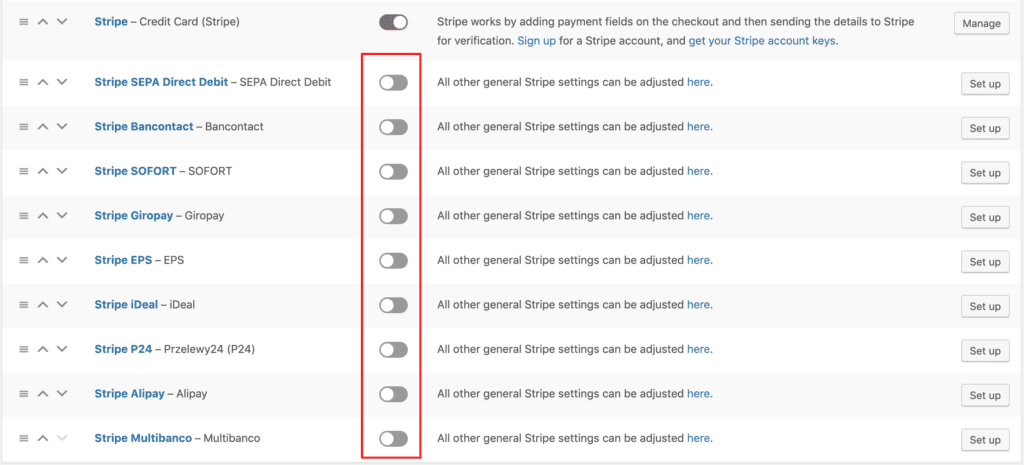
4. Additional Payment Methods
Aside from standard credit and debit cards, Stripe comes with additional payment methods that can be used to target different markets:
- Alipay
- Bancontact
- EPS
- Giropay
- iDEAL
- Multibanco
- Przelewy24 (P24)
- SEPA Direct Debit
- SOFORT
- WeChat Pay (Coming soon…)
For detailed information about these payment methods, please click on the links above or visit the Stripe Payment Methods, alternatively Stripe.com has a Payments overview page with a lot of useful information. Most of these additional payment methods need to be enabled under Payment Settings on your Stripe.com Dashboard and may require additional information to be fully set up.
Once enabled in Stripe, they can then be enabled under Online Store > Settings > Payments by clicking the slider icon or by clicking on the payment service name and enabling there. You can also change the title and description of each service within the settings for that method.