1. Create your CSV
1.1. To import new products or update existing products, you need a CSV containing your product information. You can:
- Export a CSV of products from an existing store.
- Create a CSV of products using this blank and formatted CSV file.
- Use your own CSV. Any information you wish to include should follow the formatting and columns of the Product CSV Import Schema.
2. Import New Product with CSV
2.1. First-time and existing store owners using SmartSeller can use the CSV to add new products with one upload.
2.2. On your dashboard, go to Products > All Products > Import at the top.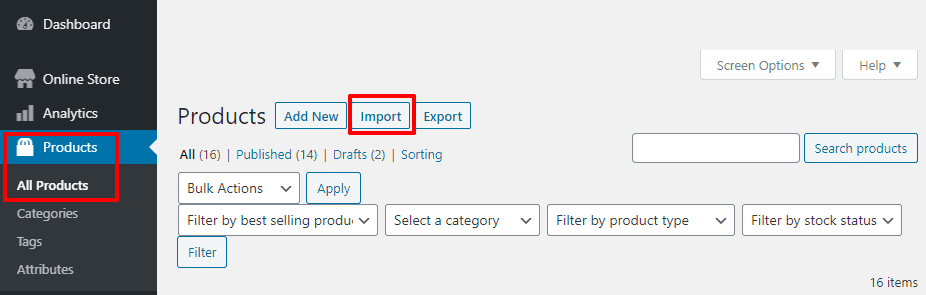
2.3. Then the Upload CSV File screen will display. Click on Choose File and select the CSV file that you saved on your computer. Then Click continue.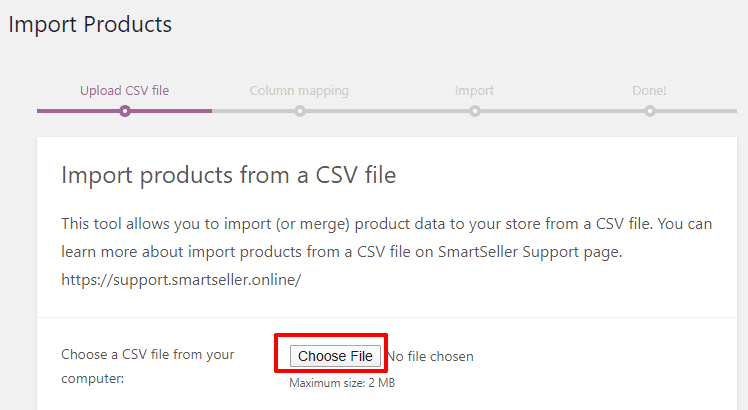
2.4. On the Column Mapping screen, SmartSeller automatically attempts to match the column name from your CSV file to your online store product fields.
Use dropdown menus on the right side to adjust fields or indicate ‘Do not import.’
*Any unrecognized columns will not be imported by default.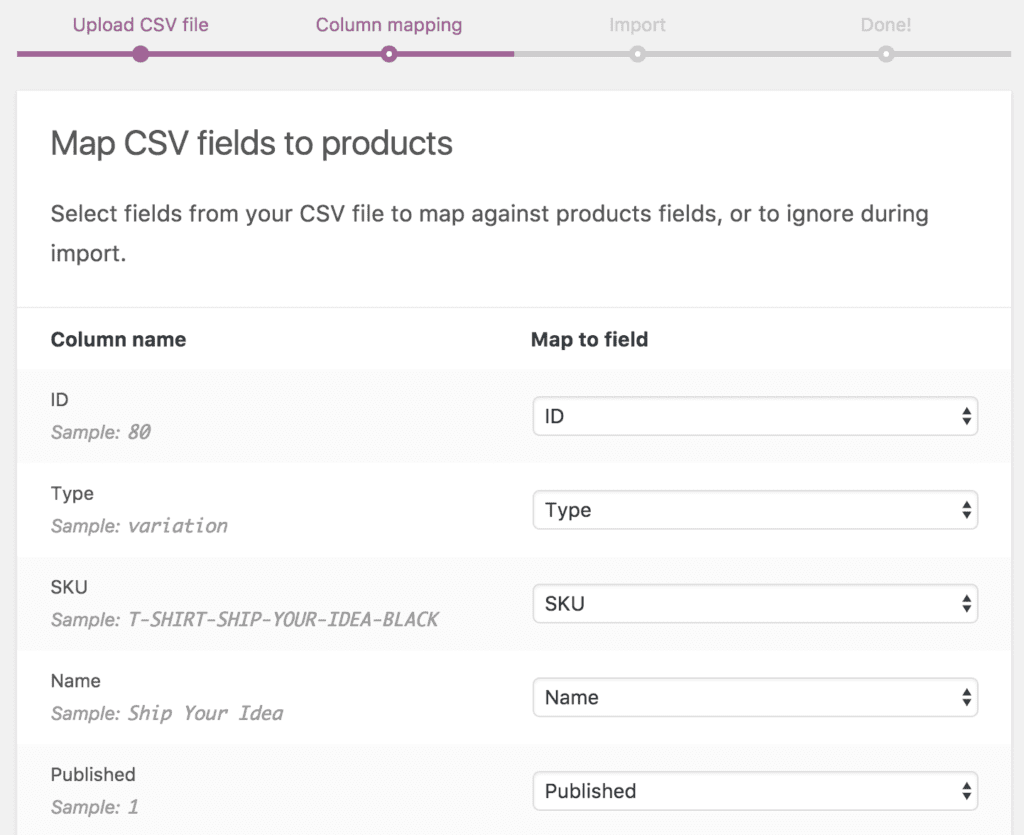
2.5. Scroll to the bottom and click Run the Importer.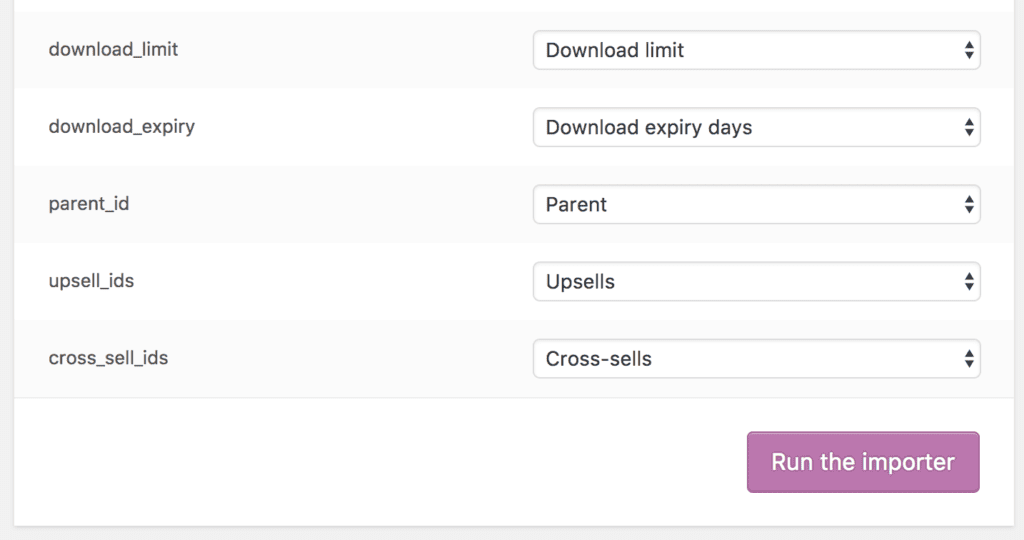
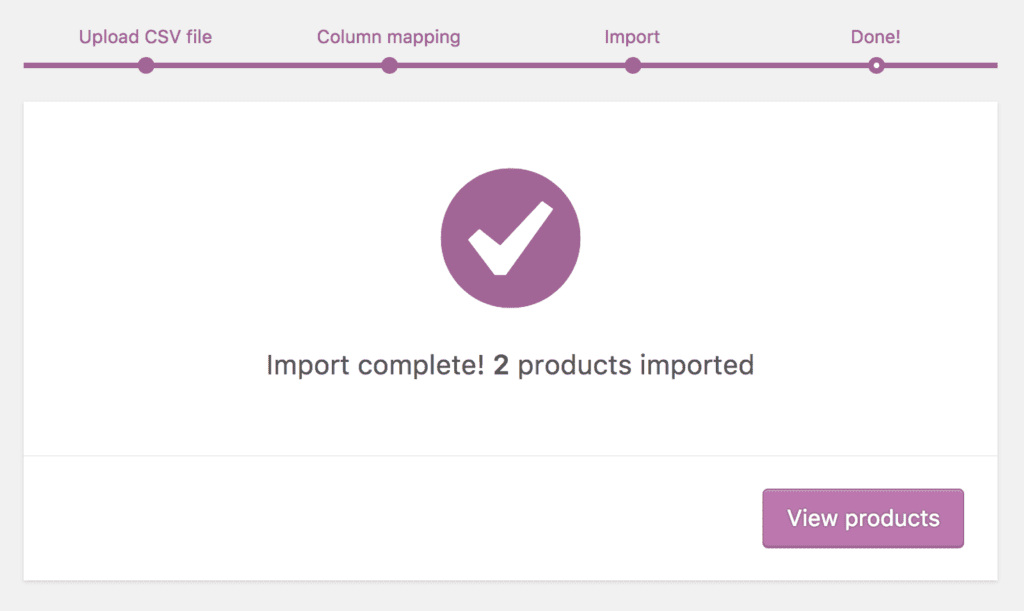
2.6. Wait until the Importer is finished. Do not refresh or touch the browser while in progress.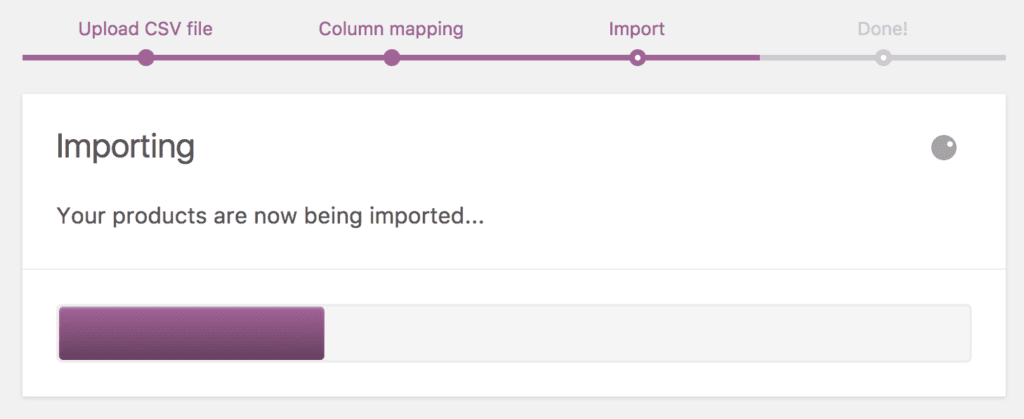
3. Export Products into CSV file
3.1. Store owners can export their current catalog of products into a CSV by using the Product Exporter.
Go to Products > All Products > Export at the top.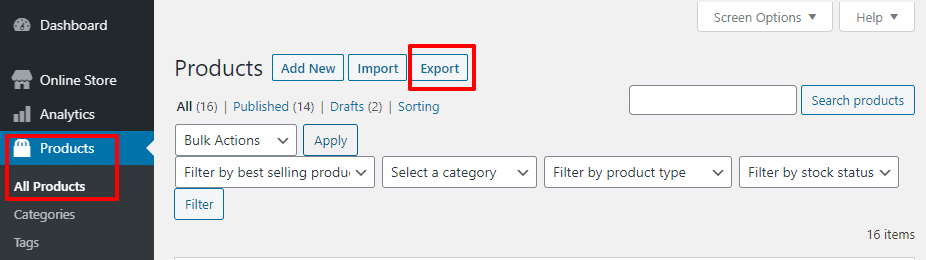
3.2. On the next screen, select to Export All Columns. Or select which columns to export by using the dropdown menu.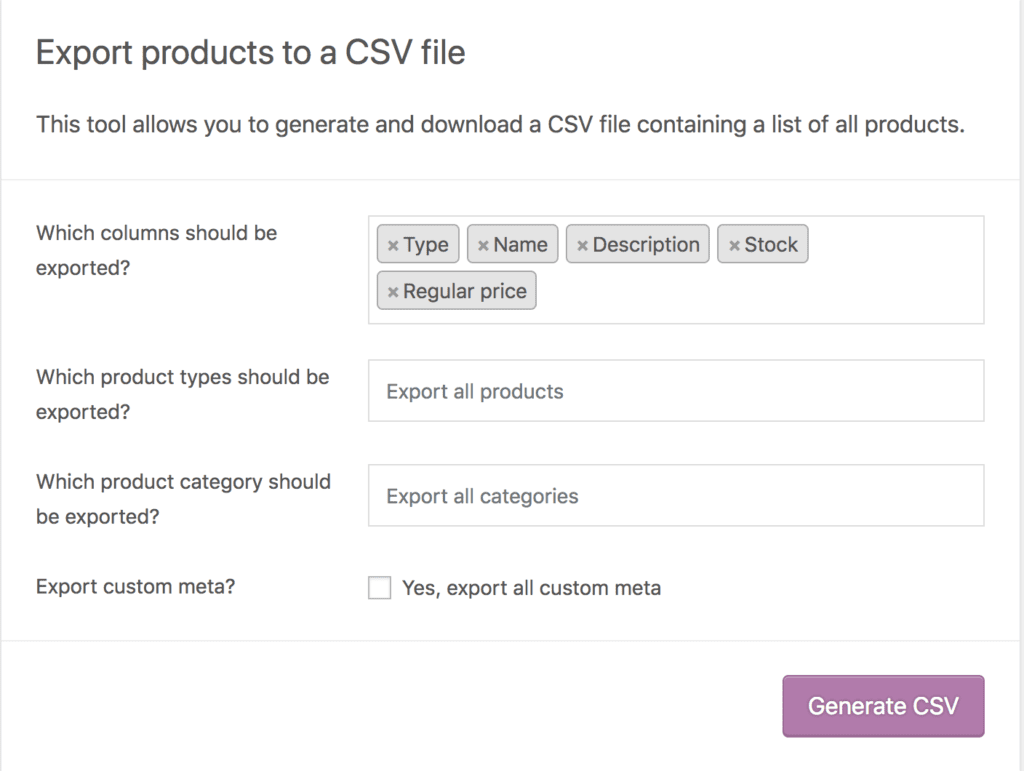
3.3. Select to Export All Products. Or select which product types to export by using the dropdown menu.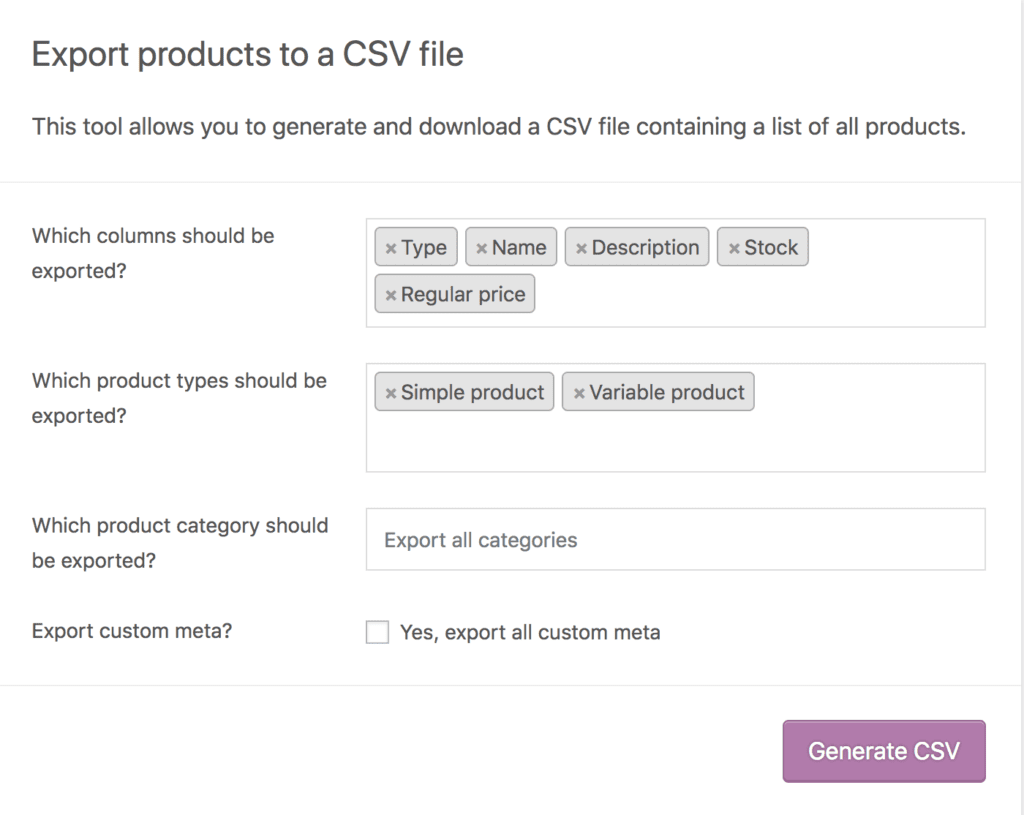
3.4. Select to Export All Categories. Or select which categories to export by using the dropdown menu.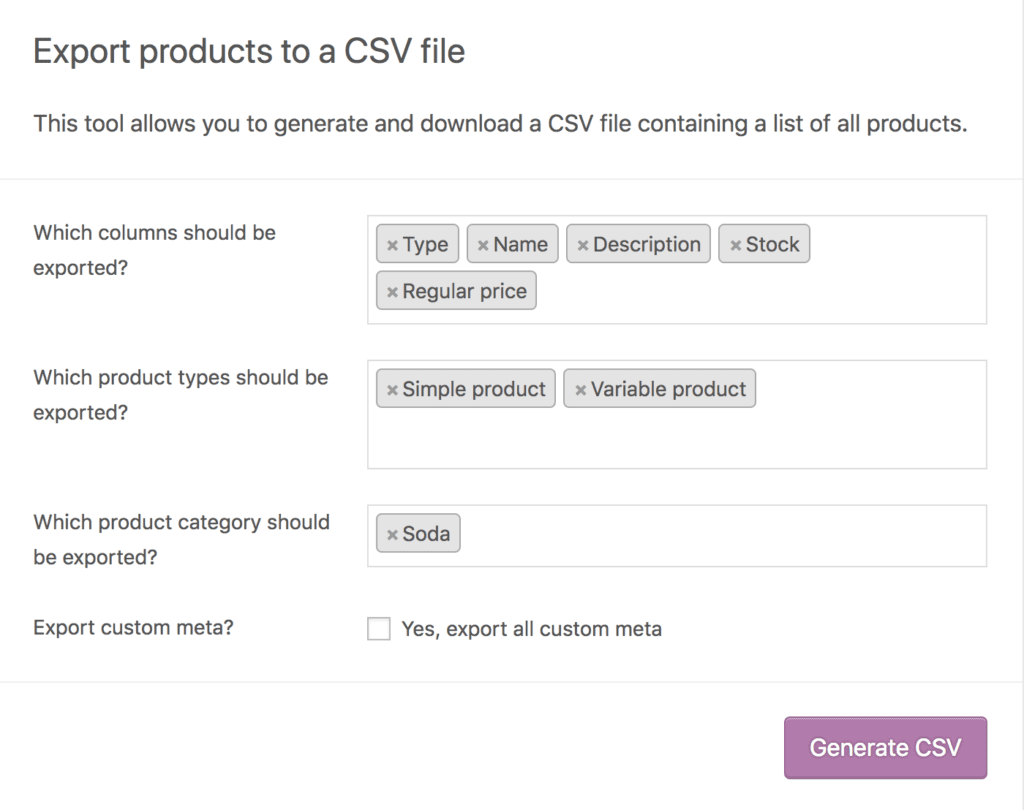
3.5. Tick the box to Export Custom Meta, if you need this info.
Meta data on your products is typically data from other apps. Meta data columns are exported following the meta:-prefix standard detailed above in the importer mapping section. By default, no additional meta data is exported.
3.6. Click Generate CSV. Wait for the export to finish.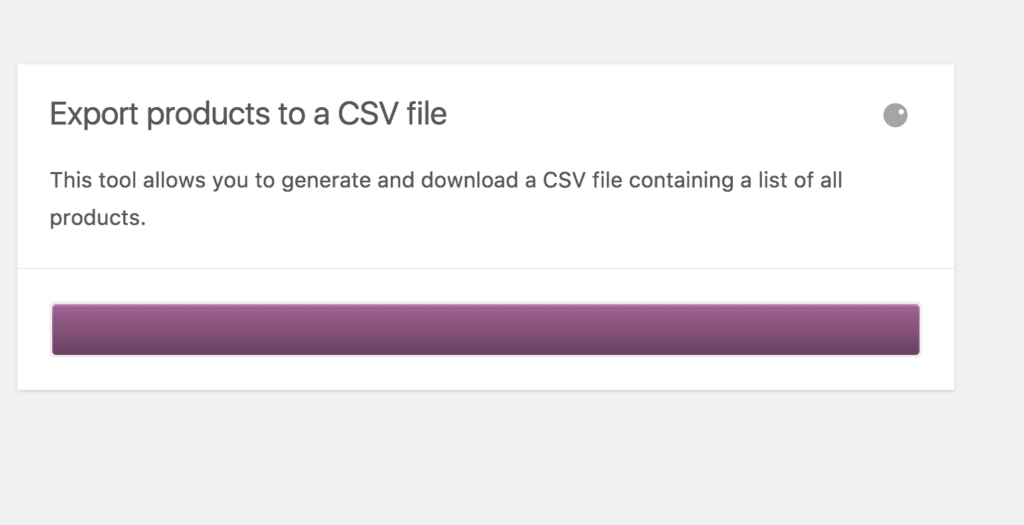
Or it can be used to bulk update existing products. Read below to learn more about update exiting products with CVS.
4. Update Exiting Products with CSV
4.1. Store owners can use the CSV Importer tool to update existing products with new info, e.g., Adding a brand, changing a tax class, bulk-update for a special sale or event, etc.
4.2. Make a CSV file as indicated in Section 1 “Create your CSV”, using the IDs and/or SKUs of the products you wish to update.
Or you can export your existing products into CSV file (follow instructions in section 3), then edit products from the CSV file.
The importer uses the ID and/or SKU to auto-match and auto update whatever info you enter in your CSV file.
4.3. Once your CSV file is ready, go to Products > All Products > Import at the top.
4.4. On the Upload CSV File screen, click Choose File and select CSV file that you wish to use.
4.5. Tick the checkbox “Update Existing Products”.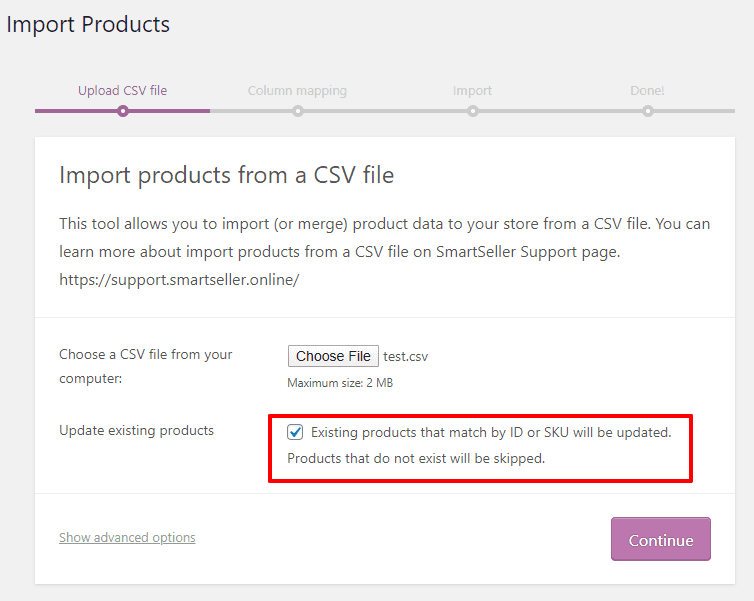
4.6. Click button “Continue” and you will come to the Column Mapping screen. SmartSeller automatically attempts to match the Column Name from your CSV file to your online store product fields.
Use dropdown menus on the right side to adjust fields or indicate ‘Do not import.’
*Any unrecognized columns will not be imported by default.
4.7. Click button “Run the Importer“
4.8. Wait until the Importer is finished. Do not refresh or touch the browser while in progress.