1. Create New Menu
1.1. On SmartSeller dashboard menu, go to Appearance> Menus.
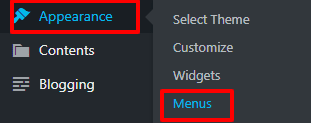
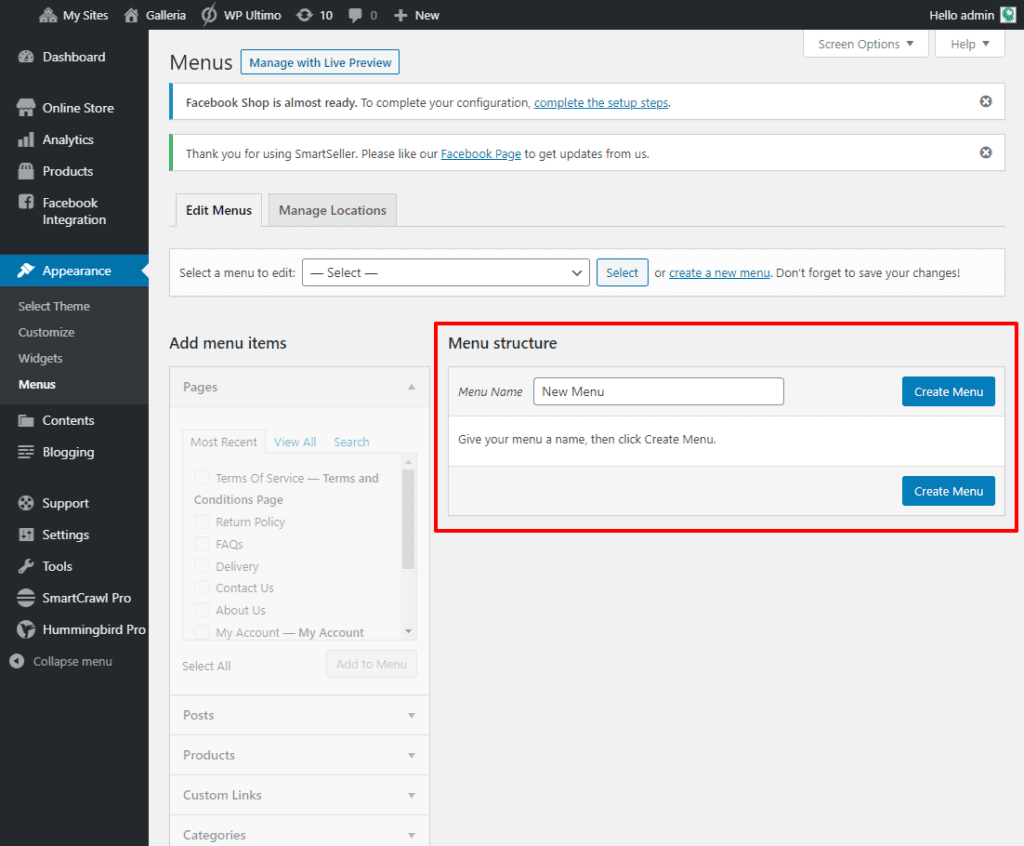
1.2. Click “Create a new menu”.

1.3. Give the new menu a name and then click “Create Menu” button.
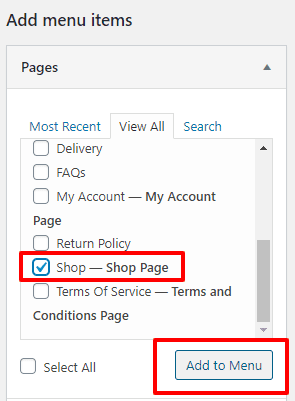
1.4. After the menu is created, you may start adding menu items. For example, you may add your website pages, product categories, and more. The options are shown on the left column. Tick on the items you want to add and click “Add to Menu” for it to be added to the menu.
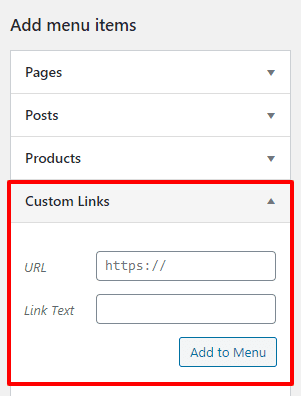
1.5. You may also simply add custom link to the menu. Click on the “Custom Links” tab. Enter the URL (web address) and Link Text (the name of the link in the menu) Then click “Add to Menu”.
Custom links are useful for those cases where you want to link to a page that was not listed in the left column, like a whole external website, for example.
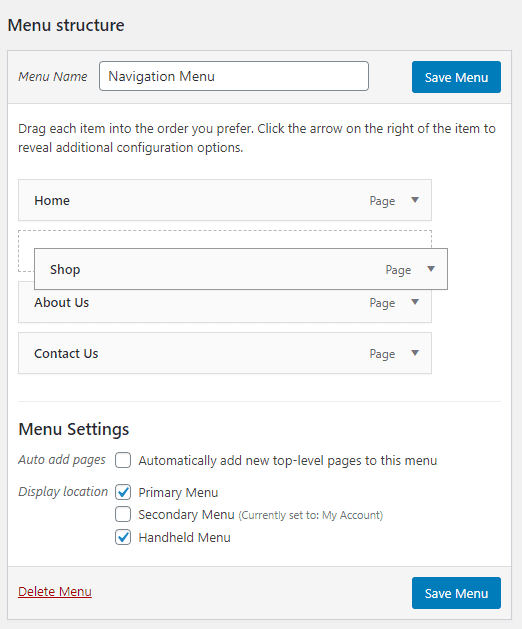
2. Arranging Main Menu and Sub-Menu
2.1. You can switch the menu items’ order by drag and drop them in the desired location.
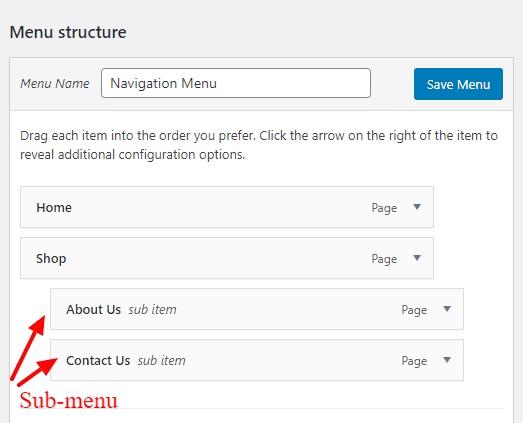
2.2. Apart from the standard menus, you can also create sub-menus. Simply drag a menu item to the right of another menu item.
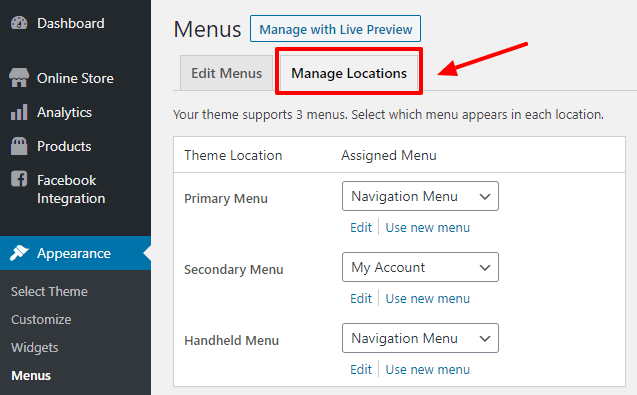
3. Menu’s Display Location
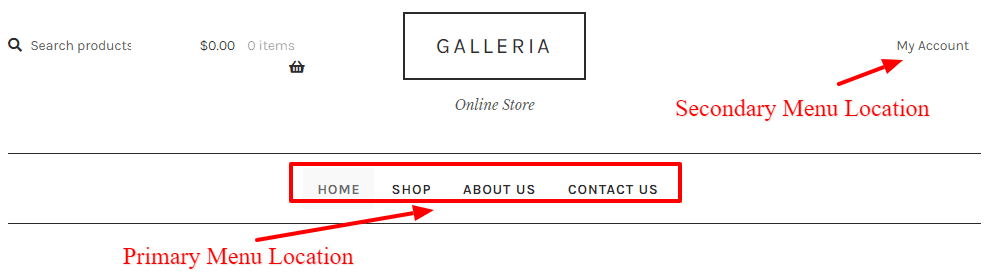
3.1. Different themes support multiple menus to be displayed. For example, our basic themes come with 3 locations for you to set your menu.
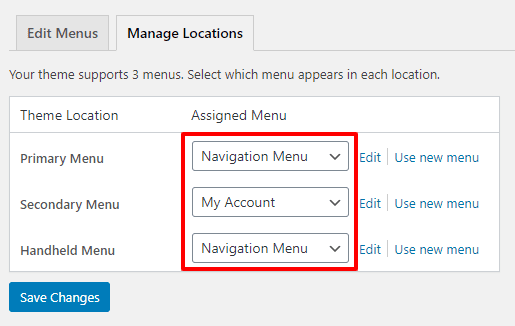
- Primary Menu
- Secondary Menu
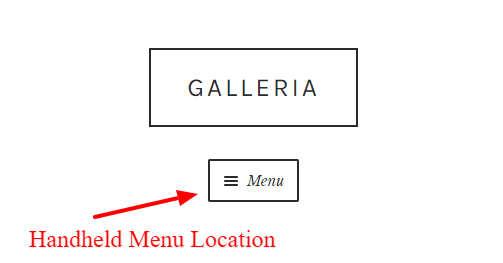
- Handheld Menu
3.2. To manage the menu location, click on the “Manage Locations” tab.
3.3. Select the menu that you would like to insert to the specific location. Then click “Save Changes”.
4. Edit Existing Menu
4.1. On the menu page, click on the dropdown and all your menus will be shown.
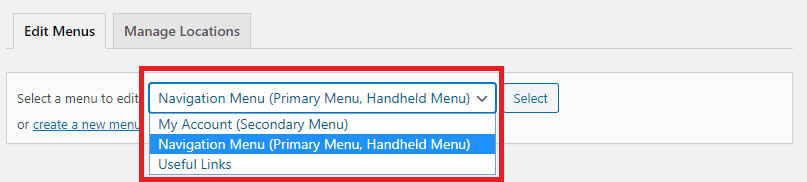
4.2. Click on the menu that you would like to edit then click “select” button.

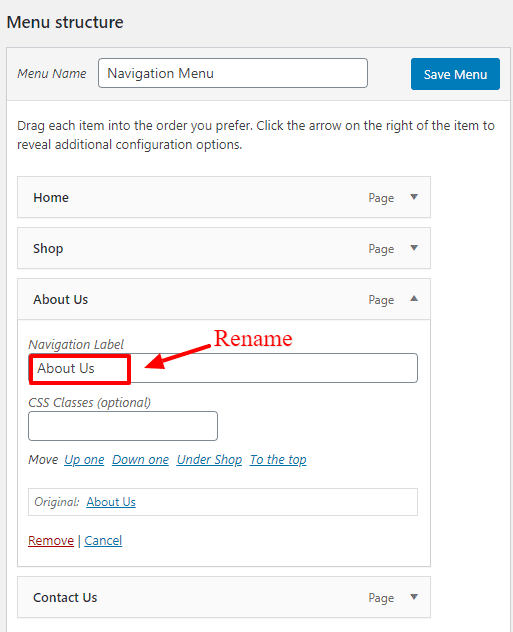
4.3. Then the menu items for the selected menu will then be displayed. Clicking on the down arrow next to each menu item name will show an options panel for that particular menu item. In this options panel, there are several items that can be updated.
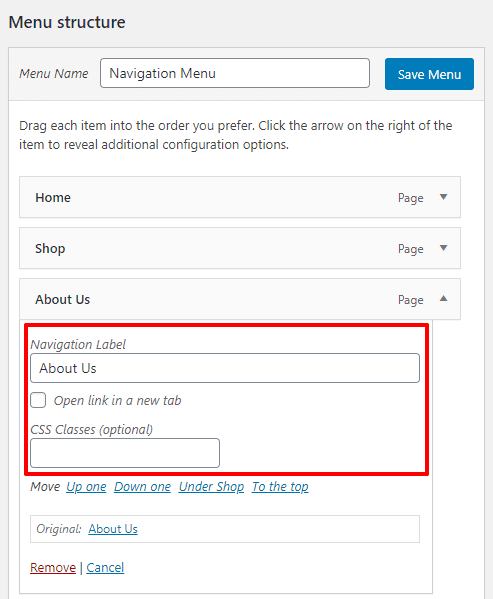
- URL – Only displayed for Custom Links and will contain the URL to navigate to when that menu item is clicked.
- Navigation Label – This is the label that will display within the actual menu on your website.
- Title Attribute – This is the tool-tip that appears when the mouse cursor hovers over the menu item.
- Open link in a new window/tab – (Hidden by default) You can set the menu item to open in the same window or tab (which is the default) or in a new window or tab. This option is made visible by ticking the Link Target option on the Screen Options panel.
- CSS Classes – (Hidden by default) Optional CSS Classes to add to this menu item. This option is made visible by ticking the CSS Classes option on the Screen Options panel.Description – (Hidden by default) The description for the link. This may or may not appear, depending on the theme. This option is made visible by ticking the Description option on the Screen Options panel
5. Delete and Rename Menu Items
5.1. To delete items from the menu, click on each page’s small arrow to the right.
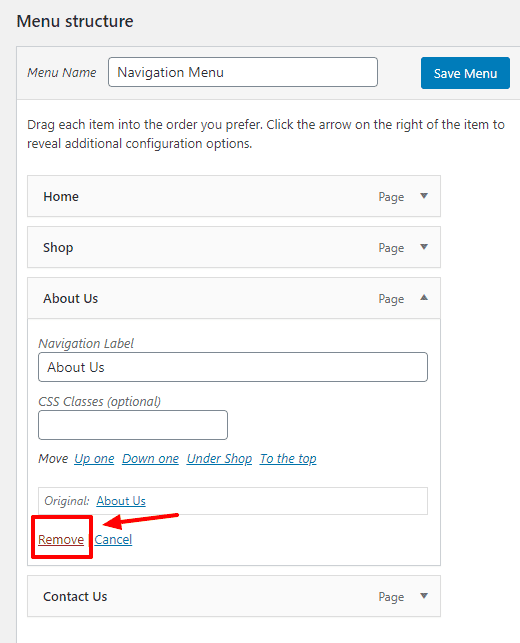
5.2. To rename the menu items, click on their current name and change it.