Key features:
- Sync list and purchase data.
- Set up marketing automations to remind customers about items they left in their cart or viewed on your site, win back lapsed customers, and follow-up post-purchase. (Now available for free Mailchimp accounts!)
- Showcase product recommendations.
- Track and segment customers based on purchase history and purchase frequency.
- View detailed data on your marketing performance in your Mailchimp Dashboard.
- Grow your audience and sell more stuff with Facebook and Instagram Ad Campaigns in Mailchimp.
- Automatically embed a pop-up form that converts your website visitors to subscribers.
- Add discount codes created in SmartSeller Online Store to your emails and automations with a Promo Code content block.
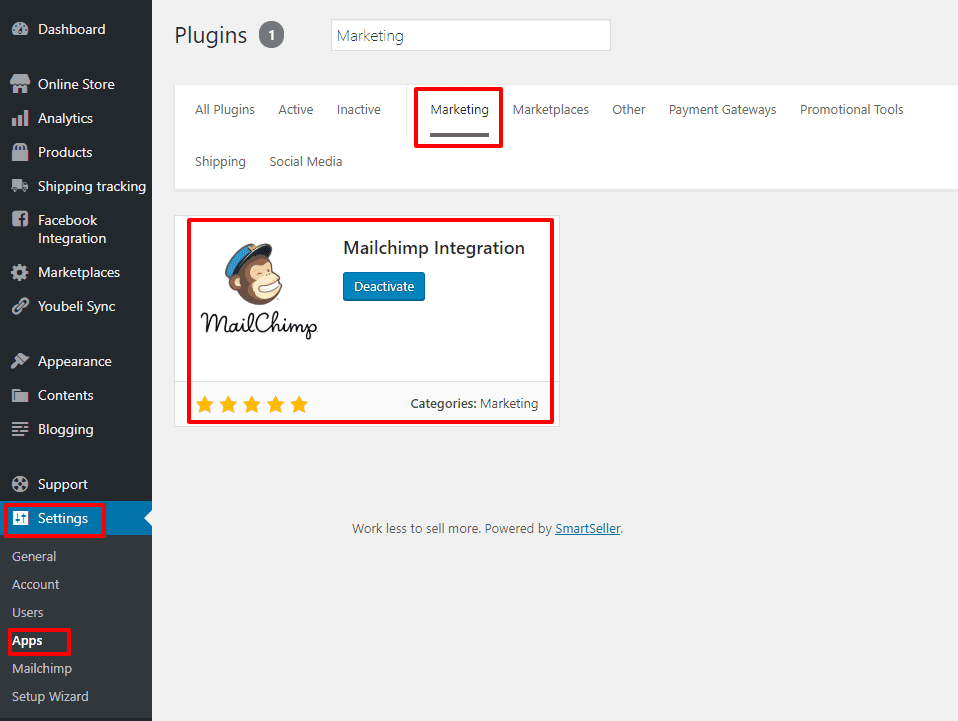
1. Activate Mailchimp Integration App
1.1. To activate your Mailchimp Integration app, go to Settings > Apps > Marketing > Activate Mailchimp.
2. Connecting to Mailchimp
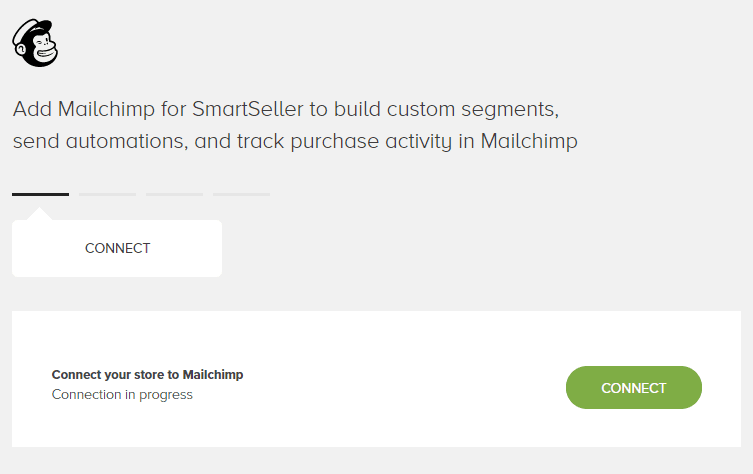
2.2. Once Mailchimp Integration App is activated, on your dashboard menu, go to Settings > Mailchimp.
2.3. Click on the button “Connect“.
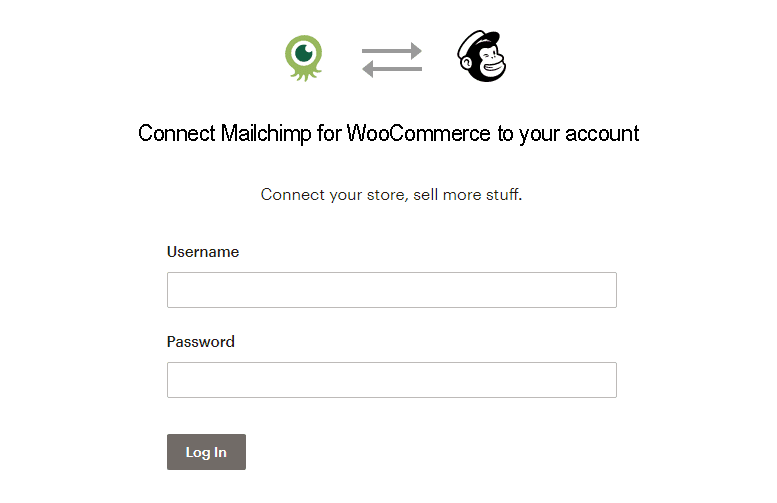
2.4. Mailchimp login page will pop out. Enter your mailchimp login detail or create a free account.
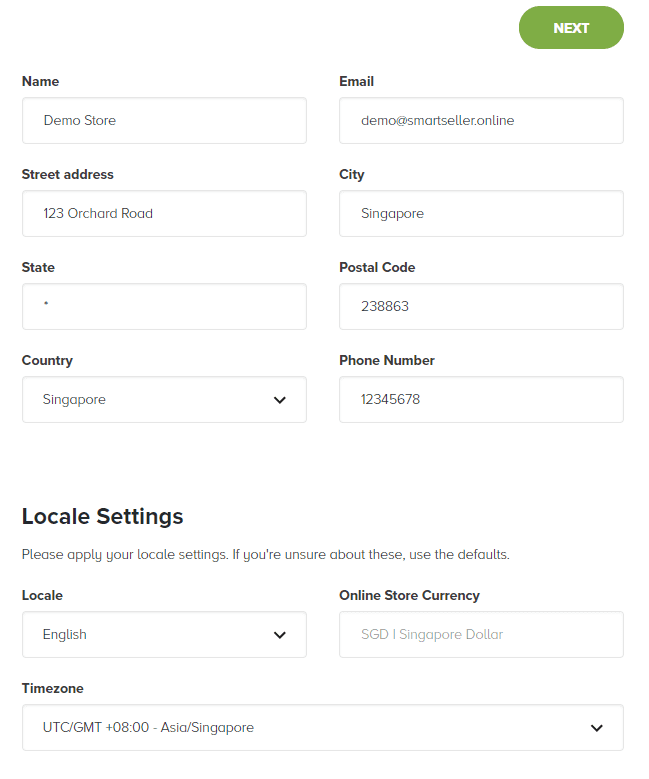
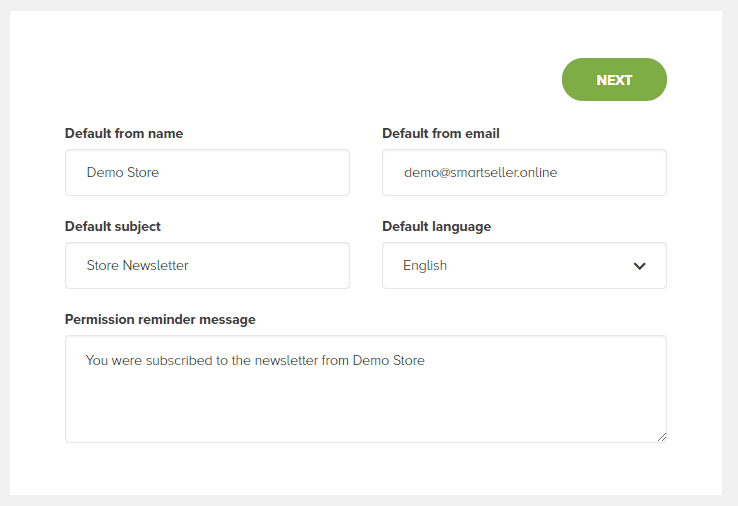
2.5. After you’ve successfully login, fill in your store details accordingly. Click “Next” when done.
2.6. Enter the information that your customers will see when they receive your email.
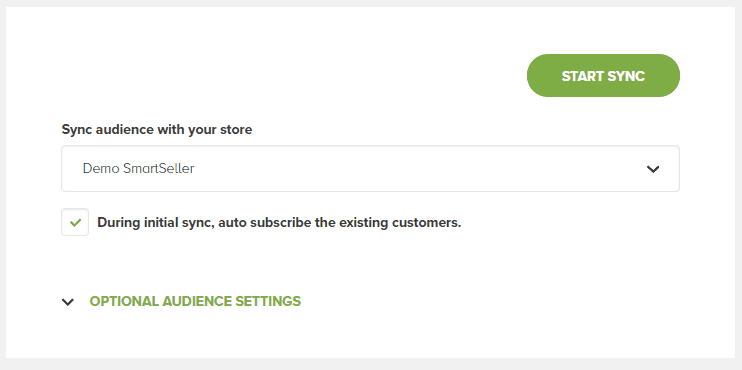
2.7. Select your audience list from the drop down and click on button “Start Sync”
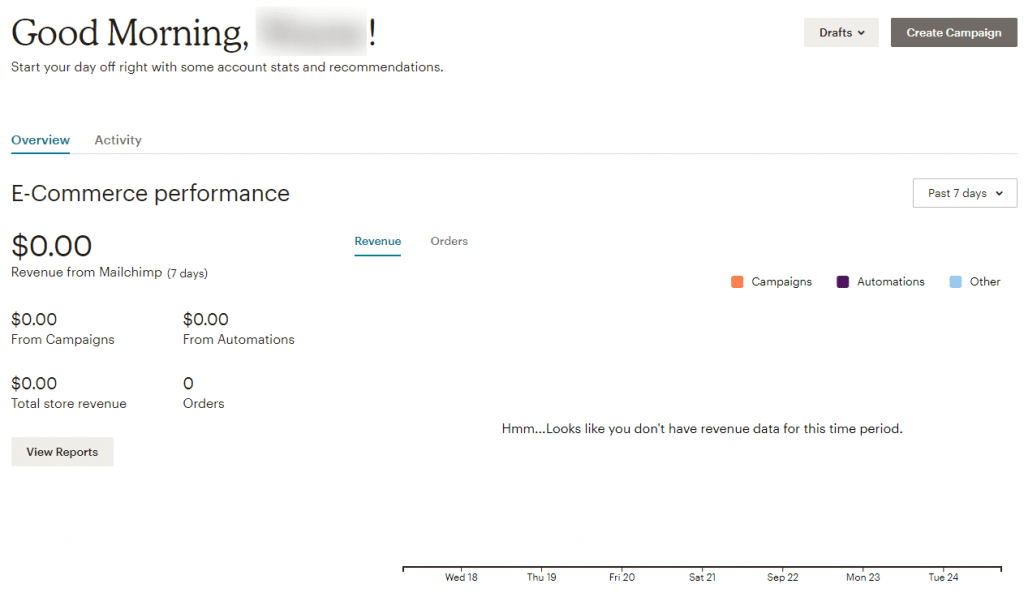
3. Mailchimp Dashboard
3.1. Now you can login to your Mailchimp Dashboard and start sending marketing email from Mailchimp.
Note: SmartSeller only provide the integration to MailChimp. For any questions about functionality of Mailchimp, kindly contact Mailchimp or visit their knowledgebase.Â